本篇為建立地圖即時聊天教學
透過 Google Map 與 Firebase 達成功能
影片分為上下兩集
上集介紹
1.Google Api Key的取得
2.地圖初始化
3.地圖圖標建立
4.多地圖圖標建立
5.地圖資訊建立
6.地圖多資訊建立
下集介紹
1.Firebase Realtime Database使用
2.即時通訊聊天原始碼講解
3.Google Map 與 Firebase即時聊天 整合
Firebase 即時通訊影片:
https://youtu.be/DvMuhxJljOU
地圖即時聊天(上集):
https://youtu.be/KYspK4VBuU0
地圖即時聊天(下集):
https://youtu.be/2839YQj-ssU
教學文件: https://reurl.cc/E78abv
***********************************
圖文說明 (感謝 學員 曾顗青 製作)
一.建立google API
登入網址:https://console.developers.google.com/?hl=zh-tw

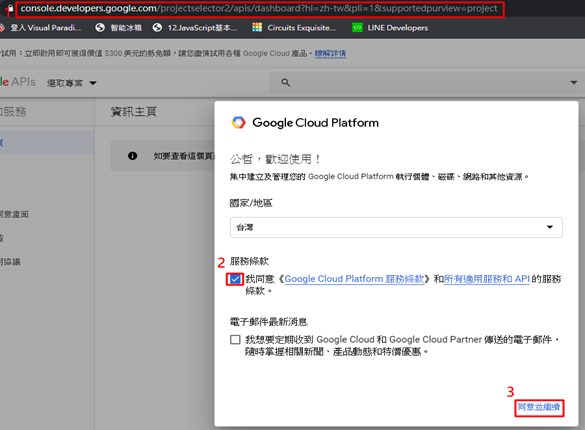
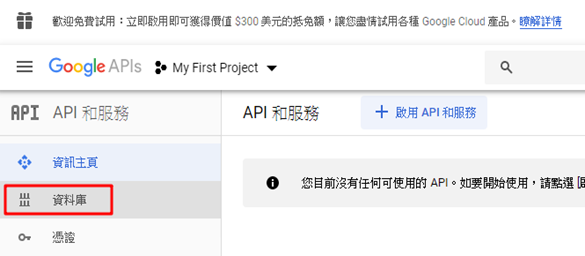


註:手動新增金鑰
˙啟用後,如果沒顯示API金鑰,手動新增金鑰。
憑證 " +建立憑證 " API金鑰 " 關閉


二.建立地圖地標位置
(一).開啟Notepad++ " 新增一檔案
(二).開啟技術文件,複製code碼
https://developers.google.com/maps/documentation/javascript/tutorial
info Windows " 複製所有code碼

(三).將code碼貼到剛新增之檔案中

(四).更改API_KEY
複製google API


更改為自己的API_KEY


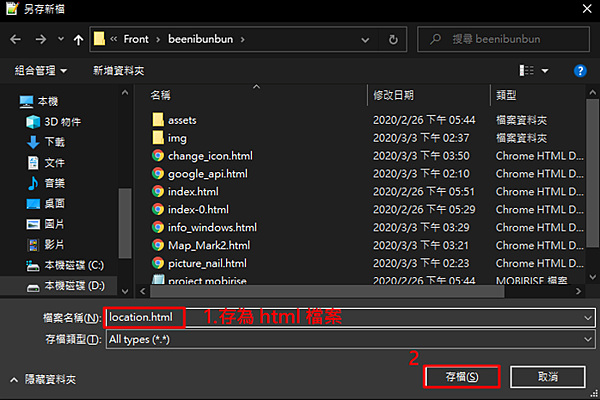
(五).另存新檔
˙記得存為html檔案。
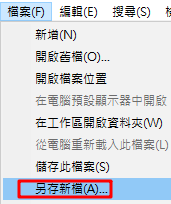

(六).修訂地圖地標經緯度位置
˙將中心點改為台中火車站。
開啟google map " 輸入台中火車站 " 搜尋

點選地標icon " 右鍵 " 這是哪裡 " 複製經緯度
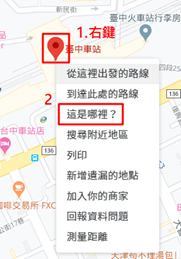
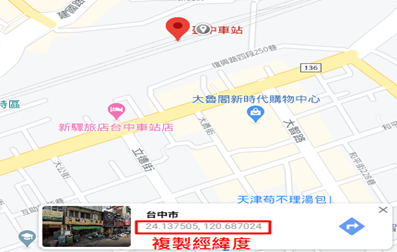
修改經緯度

(七).檢視設定是否成功
前往html放置目錄

開啟網頁


設定成功之畫面(會顯示放大倍率的地圖畫面)

三.地標加入圖釘
(一).開啟Notepad++ " 新增一檔案
(二).開啟技術文件,複製code碼
https://developers-dot-devsite-v2-prod.appspot.com/maps/documentation/javascript/examples?hl=zh-tw
info Windows " 複製所有code碼

(三).將code碼貼到剛新增之檔案中

(四).更改API_KEY
複製google API

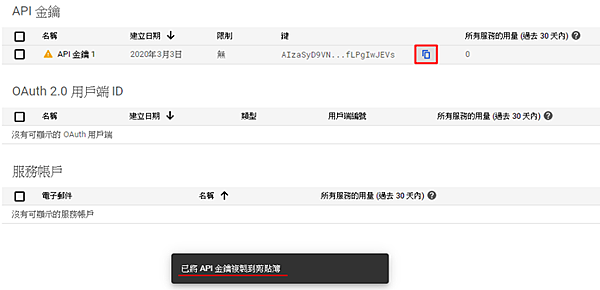
更改為自己的API_KEY


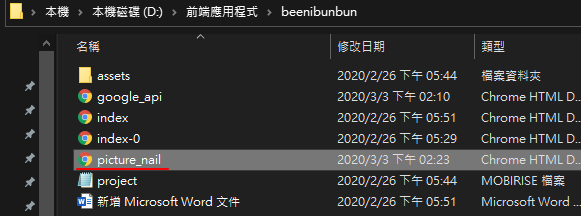
(五).另存新檔
˙記得存為html檔案。
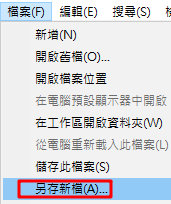
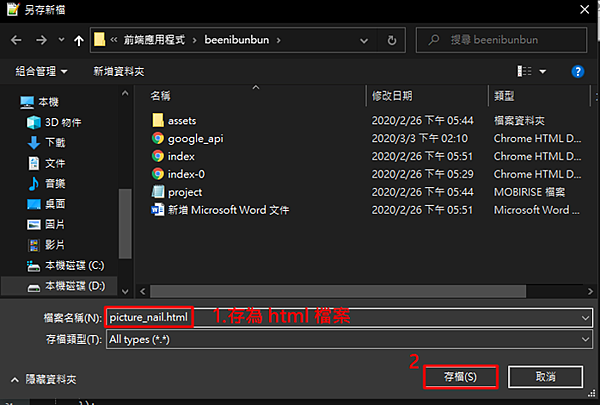
(六).檢視設定是否成功
前往html放置目錄

開啟網頁
設定成功之畫面(會顯示圖標)

四.新增圖釘icon
(一).開啟Notepad++ " 新增一檔案
(二).開啟技術文件,並複製code碼
https://developers-dot-devsite-v2-prod.appspot.com/maps/documentation/javascript/examples?hl=zh-tw
info Windows " 複製所有code碼

(三).將code碼貼到剛新增之檔案中

(四).更改API_KEY
複製google API


更改為自己的API_KEY


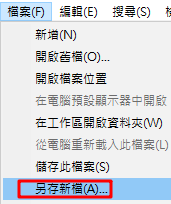
(五).另存新檔
˙記得存為html檔案。

(六).檢視設定是否成功
前往html放置目錄

開啟網頁
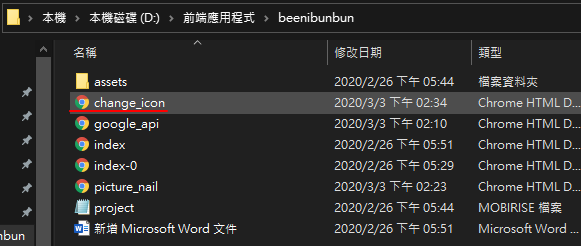

設定成功之畫面(會顯示上傳的圖標icon)

五.標示兩個地標及圖標icon
(一).開啟Notepad++ " 新增一檔案
(二).輸入程式碼
˙程式碼來源:老師提供的03_Map_Mark2.html檔案。
輸入以下程式碼
<!DOCTYPE html>
<html>
<head>
<meta name="viewport" content="initial-scale=1.0, user-scalable=no">
<meta charset="utf-8">
<title>Simple Markers</title>
<style>
/* Always set the map height explicitly to define the size of the div
* element that contains the map. */
#map {
height: 100%;
}
/* Optional: Makes the sample page fill the window. */
html, body {
height: 100%;
margin: 0;
padding: 0;
}
</style>
</head>
<body>
<div id="map"></div>
<script>
function initMap() {
var map;
var markers = [];
map = new google.maps.Map(document.getElementById('map'), {
center: {lat: 24.136365, lng: 120.687684},
zoom: 16
});
//建立地圖 marker 的集合
var marker_config = [{
position: {lat: 24.136365, lng: 120.687684},
map: map,
title:'大魯閣新時代購物中心',
label: 'A'
},{
position: {lat: 24.137519, lng: 120.686687},
map: map,
title:'台中車站',
label: 'B'
}];
//標出 marker
marker_config.forEach(function(e,i){ //JavaScript forEach() 方法會將陣列內的每個元素,皆傳入並執行給定的函式一次。
markers[i] = new google.maps.Marker(e);
markers[i].setMap(map);
});
}
</script>
<script async defer
src="https://maps.googleapis.com/maps/api/js?key=YOUR_API_KEY&callback=initMap">
</script>
</body>
</html>

(三).更改API_KEY
複製google API


更改為自己的API_KEY


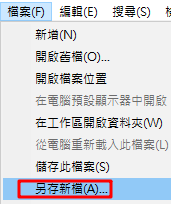
(四).另存新檔
˙記得存為html檔案。

(五).檢視設定是否成功
前往html放置目錄

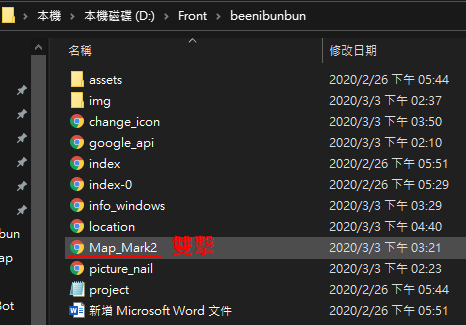
開啟網頁

設定成功之畫面

六.地標顯示訊息視窗
(一).開啟Notepad++ " 新增一檔案
(二).開啟技術文件,並複製code碼
https://developers-dot-devsite-v2-prod.appspot.com/maps/documentation/javascript/examples?hl=zh-tw
info Windows " 複製所有code碼

(三).將code碼貼到剛新增之檔案中

(四).更改API_KEY
複製google API


更改為自己的API_KEY


(五).另存新檔
˙記得存為html檔案。
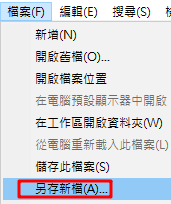

(六).檢視設定是否成功
前往html放置目錄

開啟網頁

設定成功之畫面(會顯示地標資訊)

七.設定定位功能
(一).開啟Notepad++ " 新增一檔案
(二).開啟技術文件,並複製code碼
https://developers-dot-devsite-v2-prod.appspot.com/maps/documentation/javascript/examples?hl=zh-tw
Geolocation " 複製所有code碼

(三).將code碼貼到剛新增之檔案中
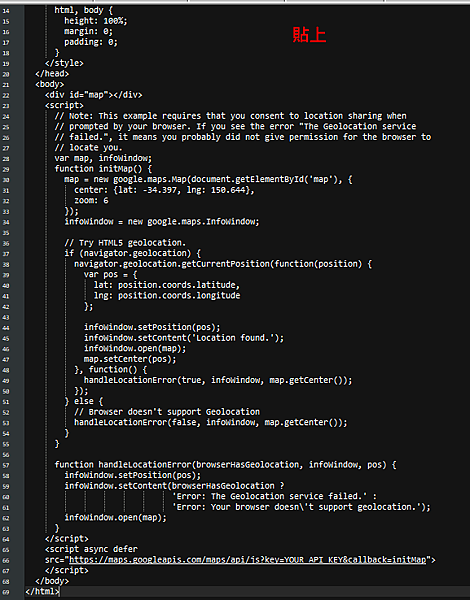
(四).更改API_KEY
複製google API


更改為自己的API_KEY


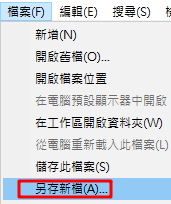
(五).另存新檔
˙記得存為html檔案。
教學文件: https://reurl.cc/E78abv


 留言列表
留言列表


